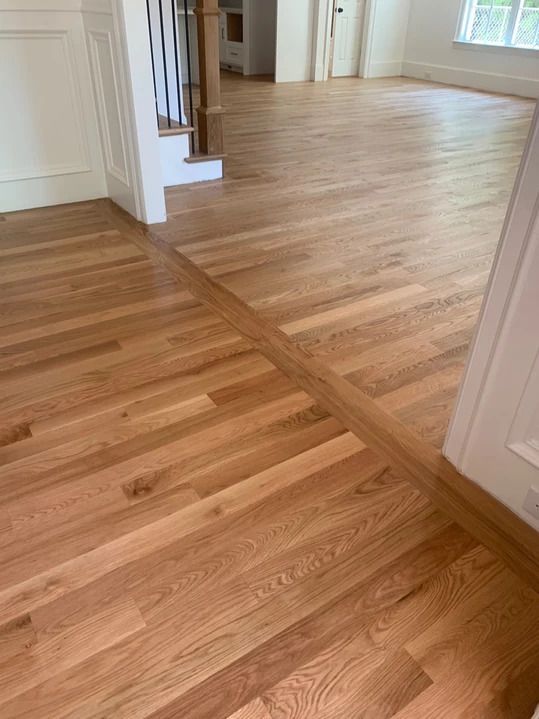
A Comprehensive Guide on How to Prep for Laminate Flooring Installs
How to Secure Seamless Success
Welcome to our flooring haven! Laminate flooring is an excellent choice for transforming your space with style and durability. Preparing for a laminate flooring installation is a crucial step to ensure a flawless result that stands the test of time. In this comprehensive guide, we'll walk you through the essential steps to prep for laminate flooring installs like a pro.
Step 1: Assess Your Subfloor
The foundation of a successful laminate flooring installation lies in a solid subfloor. Begin by thoroughly inspecting the existing subfloor for any imperfections, such as bumps, dips, or moisture issues. Addressing these concerns before installation ensures a smooth and stable surface for your new laminate flooring.
Step 2: Gather the Right Tools and Materials
Having the proper tools and materials on hand is key to a smooth installation process. Gather essentials such as a tape measure, utility knife, spacers, underlayment, and, of course, your chosen laminate flooring. Having everything ready before you start will save time and prevent unnecessary interruptions.
Step 3: Acclimate Your Laminate Flooring
Allow your laminate flooring to acclimate to the environment for at least 48 hours before installation. This step is crucial to prevent issues like warping or buckling after installation. Stack the flooring in the room where it will be installed, ensuring proper air circulation around the boxes.
Step 4: Clear and Clean the Space
Clear the room of furniture and remove any existing flooring materials. Thoroughly clean the space, ensuring there are no debris, dust, or remnants of the old flooring. A clean canvas sets the stage for a seamless installation and ensures a better bond between the laminate and the subfloor.
Step 5: Install Quality Underlayment
Underlayment is the unsung hero of laminate flooring installations. It provides crucial support, sound absorption, and moisture resistance. Invest in a high-quality underlayment that suits your specific needs, whether it's for moisture-prone areas or extra cushioning underfoot.
Step 6: Plan the Layout
Plan the layout of your laminate flooring installation by considering the room's dimensions and natural lighting. Begin laying the planks from the longest wall, usually the exterior wall, to create a visually appealing and balanced look. Use spacers to maintain a uniform expansion gap around the edges.
Step 7: Double-Check Measurements
Measure twice, cut once! Accurate measurements are vital for a precise and professional-looking installation. Take your time to measure and mark the planks before making any cuts, ensuring a snug fit against walls and obstacles.
Step 8: Follow Manufacturer Guidelines
Always adhere to the manufacturer's guidelines for installation. Each laminate flooring product may have specific requirements and recommendations that contribute to its longevity and performance.
Conclusion:
By following these comprehensive steps, you're well on your way to a successful laminate flooring installation. Take your time, pay attention to detail, and enjoy the process of transforming your space into a haven of style and comfort. Embrace the beauty of laminate flooring with confidence, knowing that you've prepped your space for a seamless and enduring result. Happy installing!


